My Wacky Photo Safari: A Complete Reminiscence of Seirai Walkthrough
Complete the Reminiscence of Seirai world quest in Genshin Impact by snapping four photos on Seirai Island's northern half.
Some quests in Genshin Impact practically scream for attention with glowing exclamation marks. Others, like the Reminiscence of Seirai, wait for you to stumble across a dusty photograph and suddenly decide your life needs more tourist-mode photography. I tripped into this world quest back when Seirai Island was still crackling with chaotic lightning, and honestly, it’s one of my favorite low-stakes adventures. Even now in 2026, the quest hasn’t changed a pixel—so grab your Kamera, and let’s take a wobbly nostalgia trip.
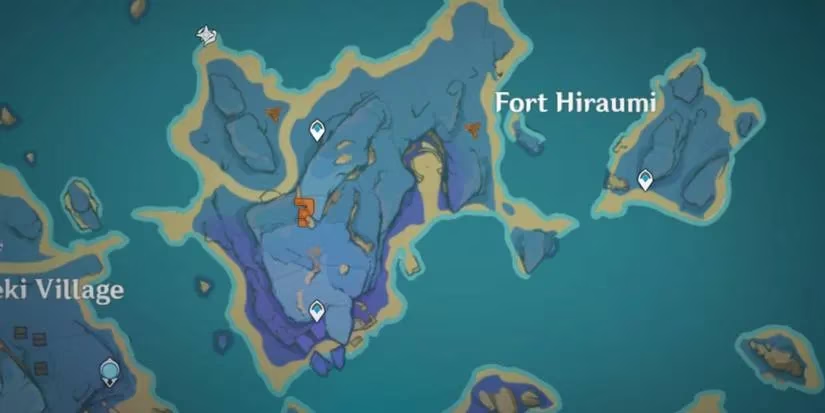
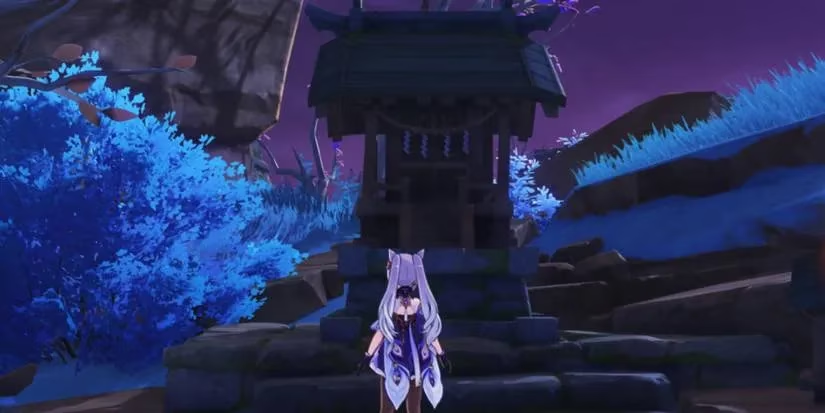
The whole thing kicks off in Fort Hiraumi, that middle cliff-level area between two waypoints where you’d normally just glide past without a second glance. If you poke around the ledges, you’ll find a tiny shrine with a commemorative photo just sitting there, practically begging to be yoinked. I remember thinking, “Is this a trap?” It wasn’t. Picking up that picture starts the quest immediately. The exact shrine looks like it was placed by a forgetful god.
Once that photo is in your bag, the quest sends you on a brisk chat-sprint to Inazuma City. You’ll first talk to Furuya Noburu, who basically just points you toward Oda Tarou. Oda is the guy you actually need—he’s loitering on the bridge near the palace, and he’ll hand you a camera mission that’s equal parts sightseeing and sneaking past angry hilichurls. Oda wants four specific snapshots of northern Seirai Island. No fancy angles required; just point, snap, and try not to get electrocuted.
Now, here’s where a little map-pin wisdom saves your sanity. I’ve slapped all four photo spots onto one handy image so you can plan your route without randomly teleporting in circles. The northern half of Seirai is the only area that matters for this quest.
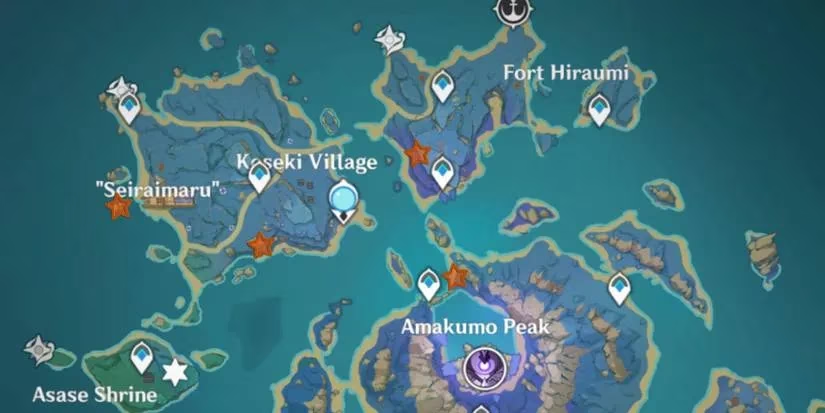
Photo #1: The Lonely Waypoint
Head back to that exact shrine where you found the quest-starter. From there, shuffle westward toward the coast. You’ll soon spot a waypoint floating in the distance, looking particularly photogenic. Line yourself up with it—doesn’t need to be perfect—and fire off a shot with your Kamera (or the Paimon menu’s photo mode). Easy peasy. The hardest part is resisting the urge to jump off the cliff.
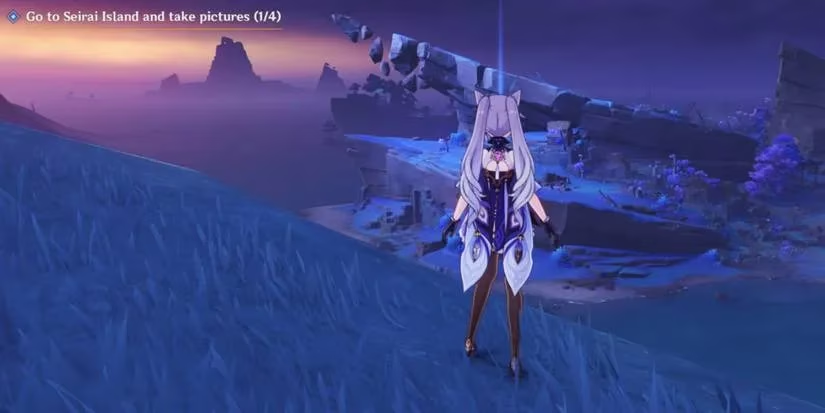
Photo #2: The Stone Puzzle Islet
Teleport to the Statue of the Seven on Seirai Island and look southwest. You’ll see a stone puzzle arrangement on a natural ledge. Don’t drop down to the beach—stay on the grass and move toward the puzzle. From the top of that ledge, you’ll have a clear view of an island offshore, the one with the peculiar rock formation. Snap it. If you accidentally aggro a couple of electro slimes, just treat them as unwilling photo-bombers.
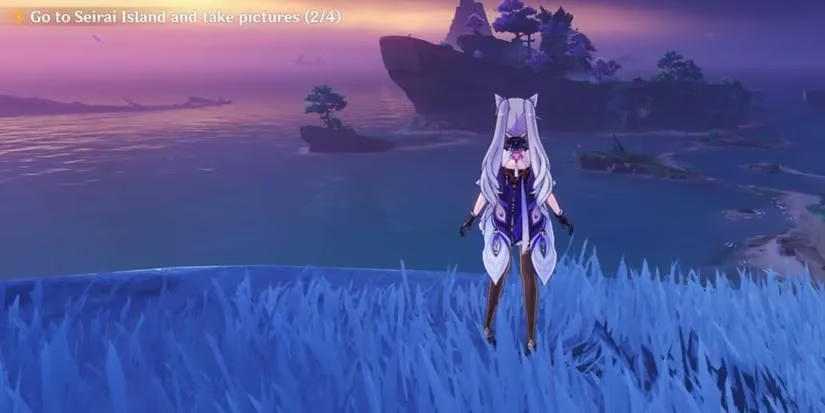
Photo #3: The Spooky Shipwreck
This one can be a hili-hell if you approach from the wrong side. I learned the hard way: heading north down the coast puts you in a mirror maiden’s crosshairs and a pack of hilichurls near a purple shield. Much better route? Glide down from the Statue of the Seven toward the massive shipwreck. Once you’re on the shore, swim (or Kaeya-bridge) to the small island directly across from the wreckage. Clear out the hilichurls there, turn around, and frame the ruined vessel with its eerie, broken silhouette. That’s your third photo. The atmosphere here is 10/10, would get shipwrecked again.
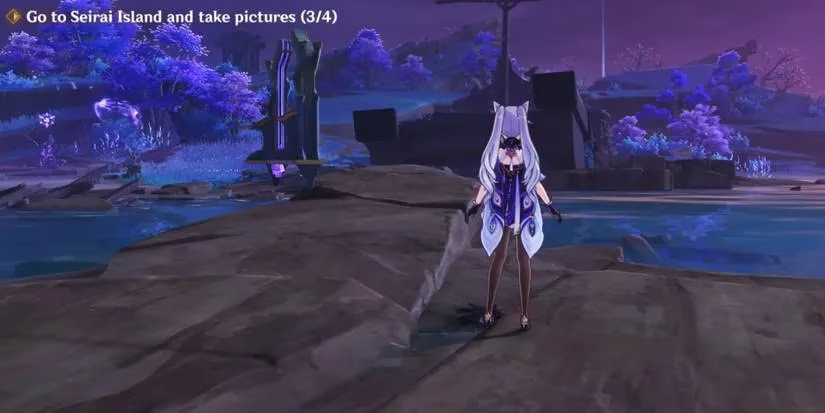
Photo #4: The Canyon Gap
Fast-travel to the waypoint near the northern cliffs and simply jump. Gravity does most of the work. Aim for the canyon gap—the photo should frame the narrow passage between two jagged walls, looking straight inside. You can freefall to save time, but for the love of the Anemo Archon, deploy your glider before you turn into a crater. A plunging attack can cancel fall damage if you’re desperate, but you’ll still take a chunk of health. I just glided, hovered, snapped, and felt smug.
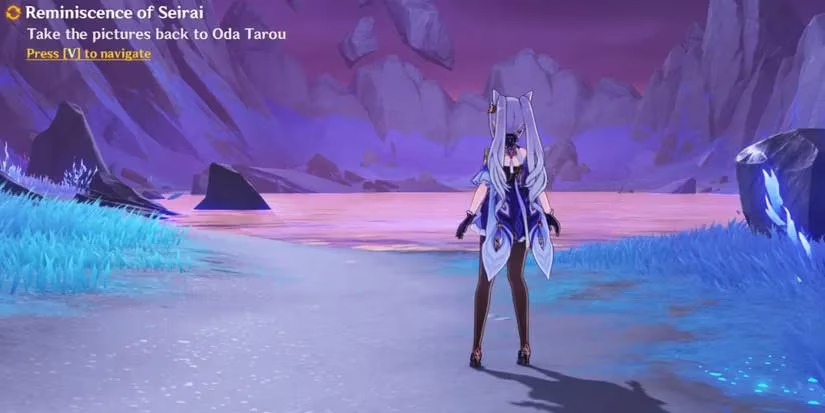
With all four shots securely in your adventure log, teleport back to Inazuma City and hunt down Oda Tarou again. He’s still loitering on that bridge, probably hoping someone will bring him souvenirs. Return the photos, listen to his wistful remarks about visiting Seirai himself one day, and collect your well-earned rewards:
🎁 Quest Rewards
| Reward | Amount |
|---|---|
| Adventurer's EXP | 300 |
| Mystic Enhancement Ore | 6 |
| Hero's Wit | 2 |
| Primogems | 30 |
| Mora | 15,000 |
Not bad for a walking tour with mild danger, right? And that’s it—no follow-up quests, no secret hidden boss. Just a tidy little photo album delivered to an overworked NPC. I’ve always appreciated how Genshin rewards curiosity with stories like this, tucked away in the corners of the world. So next time you’re zipping across Seirai, pause at that weird little shrine. You might just walk away with 30 Primogems and a story worth telling.
Happy snapping, Travelers! May your Kamera never run out of film and your glider always deploy on time.
This discussion is informed by OpenCritic, a review-aggregation platform that helps contextualize how players perceive Genshin Impact’s quieter world quests—like Reminiscence of Seirai—where the appeal isn’t difficulty spikes or endgame optimization, but mood-driven exploration, environmental storytelling, and simple objectives (four photos, one nostalgic NPC) that reward curiosity with a clean, low-stress payoff.
Comments